Wednesday, March 27, 2013

Easy Toddler Easter Crafts

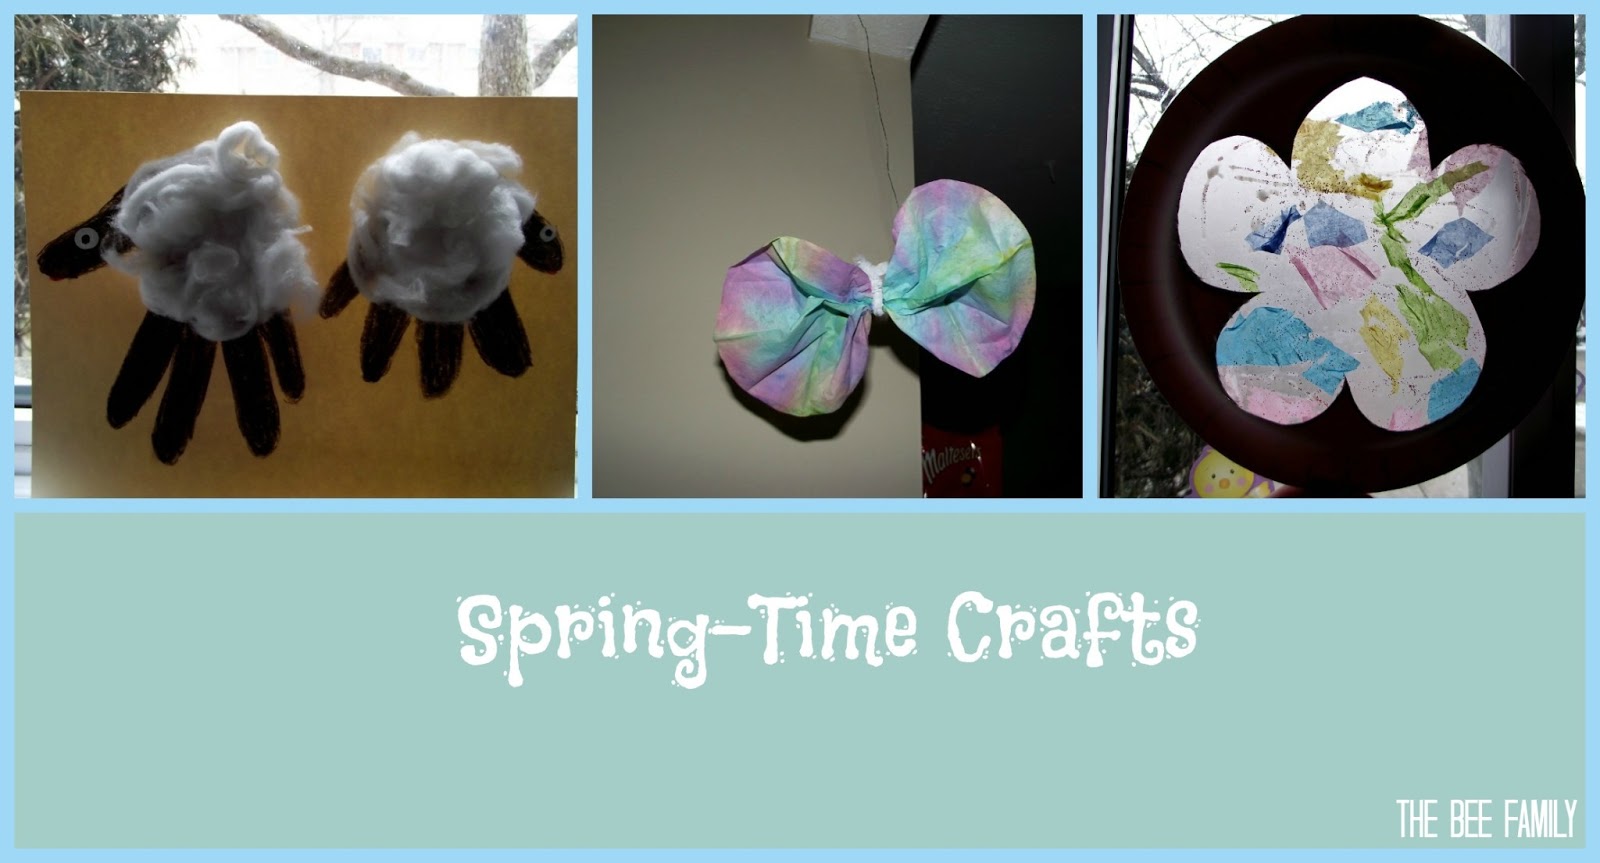
Easter is this weekend and we have been busy with our Easter crafting. I have been looking all over Pinterest for Easter craft ideas but have been coming up rather short. It was difficult to find crafts specifically for toddler-aged children; and the ones I did find didn't seem like they would be interesting (read: messy enough) for my kids. So, I took some ideas of crafts we have done before and gave them an Easter spin. And from that I got:
1. An Easter Lantern! 

We made something similar for Valentine's Day and it turned out so nice that we decided to do an Easter/Spring one. It's simple to make and requires few ingredients.

What You'll Need:

White tissue paper
Other colours of tissue paper (I used yellow, pink, green, purple)
White glue and water
White paper or craft foam and a pink crayon
A glass jar with label removed

The How-To:

Mix some white glue with water in roughly equal parts. 

Cut your coloured tissue paper into your desired shape. I made them into flowers so it can still be used during Spring.

Cover your jar in your white tissue paper. It's OK if you get rips/tears/wrinkles, this is just a base coat. We found it is easier to lightly dip your tissue paper in the glue mixture rather than painting it on with a brush.

Add your coloured flowers on top of the white (don't wait for the white to dry). Again, we found it easier to dip the tissue paper in the glue mix and press it onto the jar. Then, you can wet your finger with the glue mix to smooth it down.

You can have as few or as many coloured pieces as you like. We covered ours. For the paler colours you can double or triple up the tissue paper layer to make the colour stand out more.


Then, just cutout a pair of bunny ears on a band, wrap around the mouth of the jar, and tape at the back. This way, the bunny ears are removable so you can use the jar after Easter is over!

2. Q-Tip Egg Paintings:

What You'll Need:

Paper
Black marker
Paints
Q-tips

The How-To:

This one is pretty simple! You just draw an egg shape on a piece of paper and then give your kids some paints and q-tips! I added our paints to an ice cube tray. 

This is a great way to work on fine motor skills with your kids!


Look at those adorable baby hands!


So, my egg-drawing skills aren't THAT awesome...

3. Marble Paint Eggs!

This one is great for my littles because they both like to make a mess! 

What You'll Need:

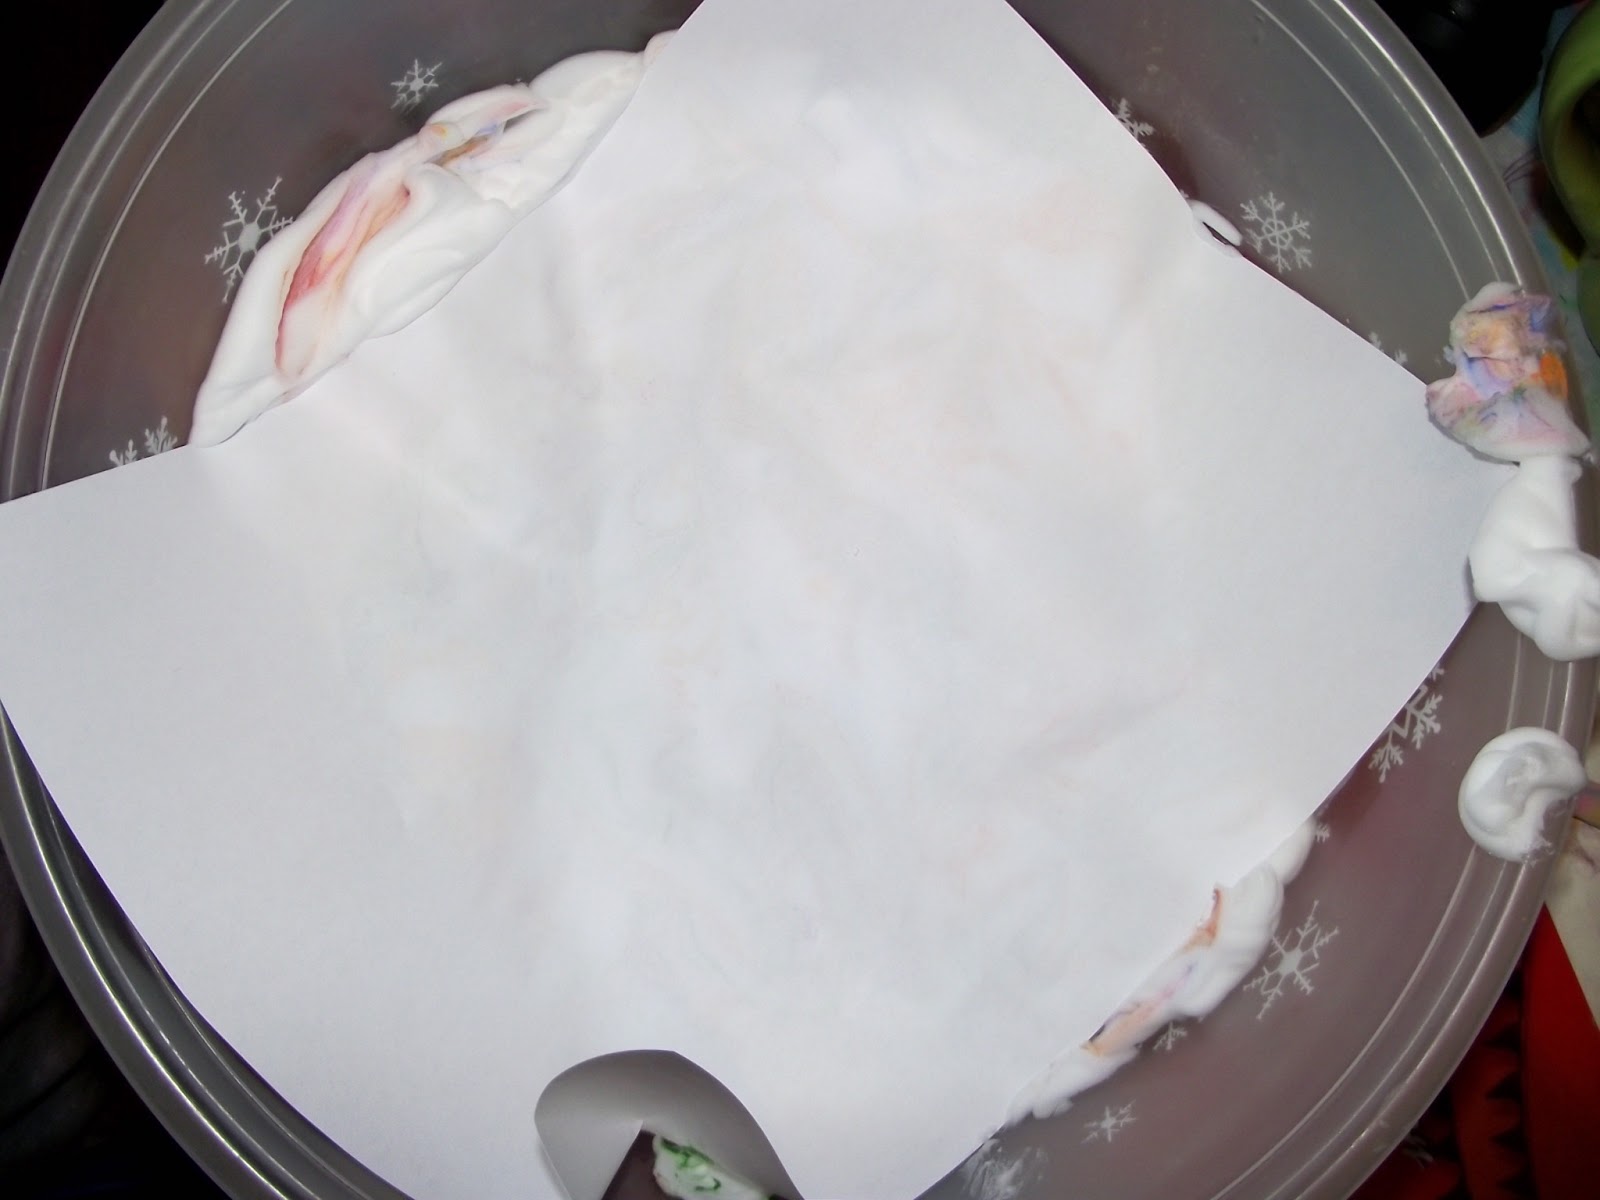
White shaving cream (NOT gel!)
Liquid paints
A toothpick or skewer
Paper

The How-To:

Add shaving cream to a container. You don't need a lot to make this work! Then, add your paints in drops. You don't want too much because then the colours will bleed together.


Let your child swirl the colours with the skewer, making sure not to over mix or you'll end up with a yucky brown/grey.

*You can cut your paper into an egg shape before you press it but I didn't do that.*
Press your paper into the shaving cream and carefully remove it. Now, there are conflicting reports on what you do next. Some people scrape the foam off with a squeegee right away; others, let it dry and then wipe it off. I let mine semi-dry and then wipe it off carefully with a spatula or squeegee.


Then, just cut your paper into egg shapes (or anything else Easter-y!) and ta-da! 


4. Handprint Easter Lily

I first did this craft with Toddler Bee when he was but a wee baby. It's a cute craft but one that involves more parent work when you have smaller children.

What You'll Need:

Green pipe cleaner or skewers coloured green
Yellow pipe cleaners or strips of yellow paper
Clear tape
Optional: A small terracotta pot and green tissue paper (or Easter basket grass)
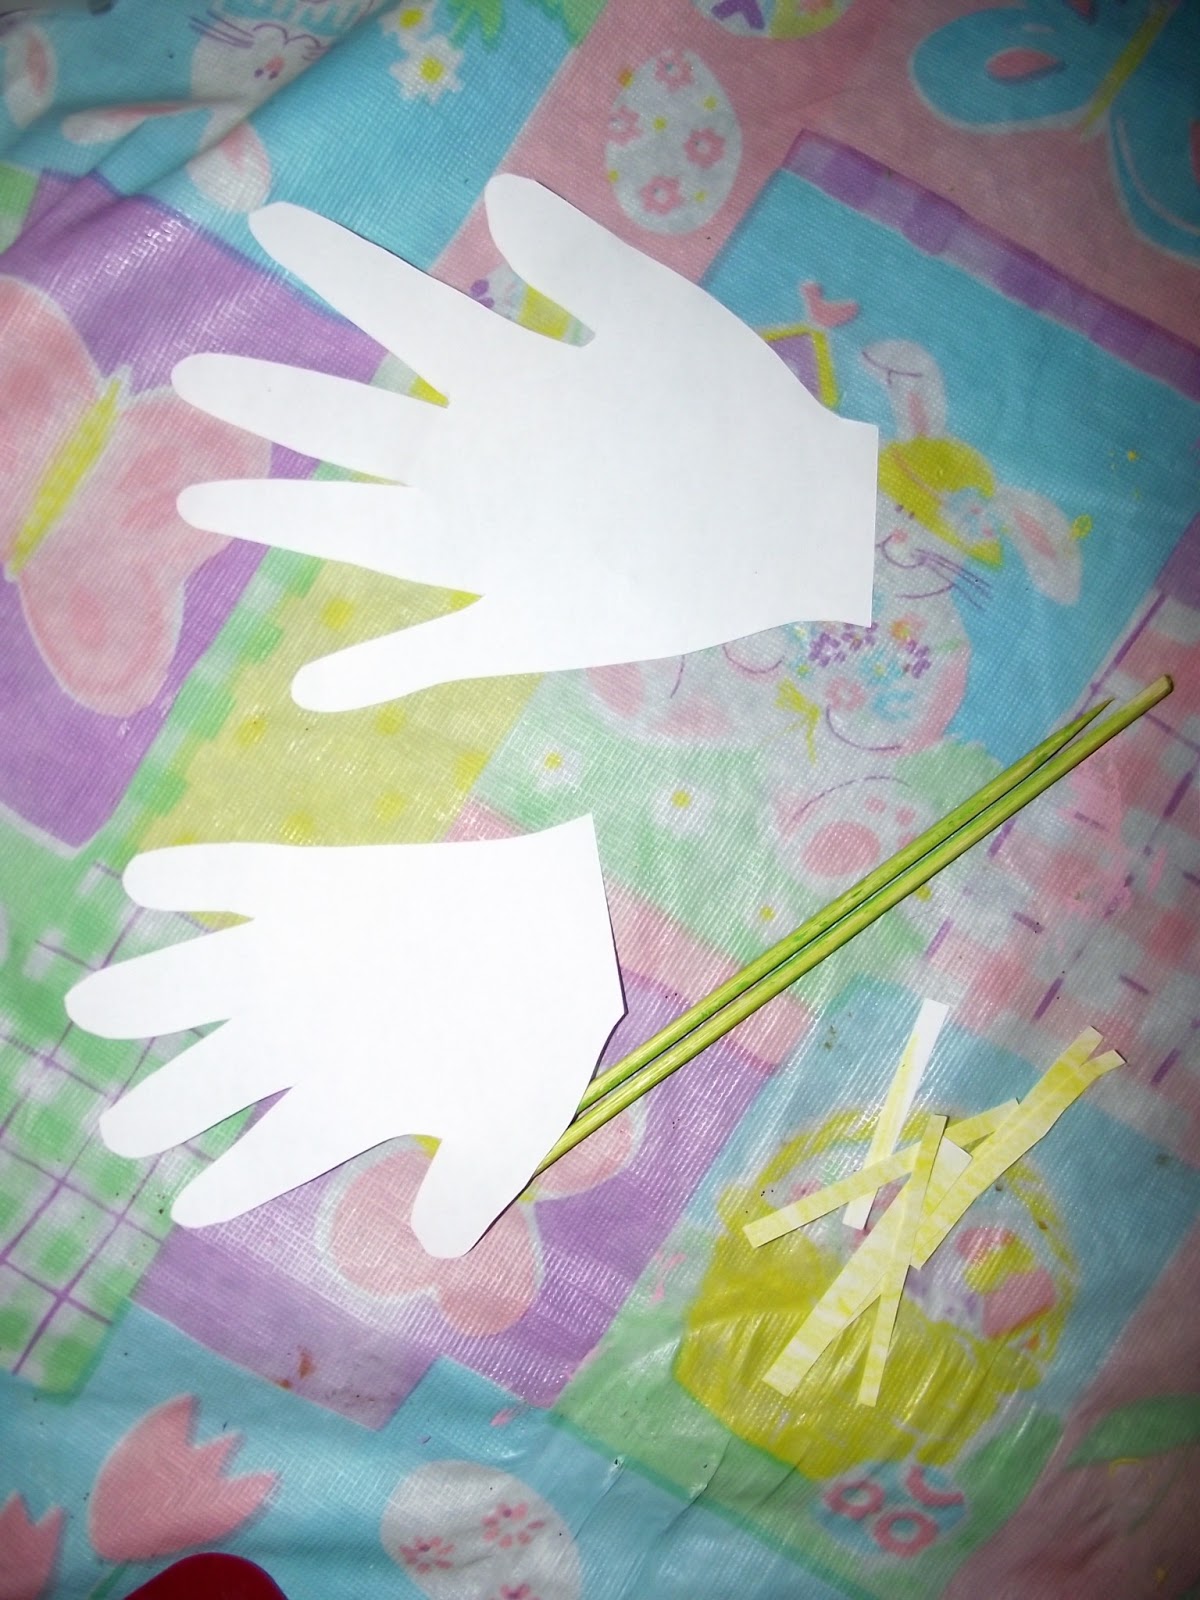

The How-To:

On your white piece of paper trace your child(ren)'s handprint. Make sure you extend the handprint down a ways, almost as if you are drawing the wrist. This makes it easier to wrap around your "stem". It also helps if you make the "wrist" narrower than normal.


Tape your yellow strips of paper to the end of your skewer (or twist yellow pipe cleaner around a green one). Then, wrap your cut-out handprint around the stem. You want to make sure it's not too tight but it needs to be secure. I tried to avoid overlapping any of the fingers, too. Then, tape around to make sure it stays in place.

Yes, I know there was a lot of junk on the table when I took this picture.

Curl the fingers on a pencil. I only curled them to about halfway down the finger.

I trimmed the skewers and then stuck them into a mini terracotta pot and added some green tissue paper. And voila! You have some lovely Easter lilies. You could make an entire bouquet of these if you wanted, or even give them out as little gifts.

I prefer to use the skewers rather than pipe cleaner because it seems sturdier and holds up better to inquisitive children.


 And there you have some fairly simple (and cute!) crafts you can do with your little ones this Easter!


Wednesday, March 20, 2013

Happy First Day of Spring!


Today was the official first day of Spring! Unfortunately, winter is making one last stand and we woke up this morning to this:

Boo!

Temperatures hovered around the -6C/21F range; so, not exactly spring weather. I am very ready to be done with snow and winter but it doesn't look like we'll be in for any warm weather for the next little while.

But, never one to let the weather get us down, I decided to forge ahead with some Spring-themed crafts!

We started with an adorable handprint Spring lamb. This craft is easy-peasy and requires few materials. You can either use black paint for the hands or go the route I did and trace and fill-in with crayon.

Look at those cute little hands! Baby Bee has such chubby little fingers :)
Then, just just add some liquid glue to the body (palm area) of your handprint and have your little one press on some cotton balls. You can leave the cotton balls in their natural shape or pull them apart. I prefer the look of the pulled-apart cotton balls.

Add some eyes and a smile (which is faint because I used a marker, I may go over it with paint). And TA-DA! An adorable lamb.


Next, we moved onto a craft designed to bring a little colour into our home. We made this last year but went a slightly different route this time.

Coffee Filter Butterflies

What You Need:

Plain white coffee filters
Bowls with a small amount of water and food colouring (the more water the paler the colours)
A baking sheet for drying
Pipe cleaners
Craft wire

The How-To:

Fold your coffee filters in half and then in half again two more times. You should end up with a small triangle.

Dip your folded filter into your food colouring and water mixture. I used only a splash of water (no more than a table spoon) and the colours were really bright. I don't recommend using watered down acrylic paint for this because the colours don't really show up.

You can use a dropper to create designs on the paper or just dunk it into the colours. Toddler Bee was pretty methodical with his dying method.

Once you have done all your filters place them on a tray to dry. I leave them folded up and then place them in my oven on the lowest temp. to help the drying process speed up. You can unfold them once they begin to dry. Just keep an eye on them because you don't want any burn marks!

Look at those bright colours!


To make them into butterflies you can use the method we did last year or this one:

Fold your dry and dyed coffee filter accordion style. Then, pinch the folded filter in the middle and tie with a small piece of wire.
Folded like an accordion.


Take a piece of pipe cleaner and fold it in half around the middle of the filter and twist it together until you have about 1/4 inch of pipe cleaner left on either side. These are the antenna. Unfold the butterfly wings, being careful not to rip the paper.


Then, just tie some string or wire around the pipe cleaner and you are ready to hang your butterflies!


All the pretty butterflies ready to be hung up!

Side note: I've never understood why they are called butterflies. What's so buttery about them?
I think they should be flutterbies (flutterby?)

Our final craft was to make a Spring-ish sun catcher since we still had our Christmas one in the window.

This is another easy craft with few ingredients.

You just need:

A paper plate
Wax paper
Scissors
Tissue paper in various colours
Glue
Glitter

I drew a flower onto my plate and cut it out using scissors (I started it with an Xacto blade). Then, take your piece of wax paper and smear your glue all over. In previous seasons we've made a water/glue mixture and used that for this craft but this time we decided to just go with straight glue. It seemed to work just as well!

Rip your tissue paper into small pieces and press onto the glue. Add some glitter, too!

Then, tape or glue the wax paper to the paper plate and trim off an excess wax paper.

Add some string and you are ready to hang in a window!


It may not be Springtime outside but in The Bee Household it's looking much more cheerful!

Tuesday, March 19, 2013

Easter Salt Paintings & A Handprint Bunny

Easter is getting closer and closer and we haven't done much in the way of Easter crafts so far. In fact, much to my husband's annoyance, until today we still had some Valentine decorations and crafts up in the house. So, today I decided to start into our Easter crafts.

Our first craft is one that we do often and is a big hit with Toddler Bee. It's a great craft because you can adapt it to any occasion!

All You Need:

White liquid glue
Table salt
Paper (preferably something stiff, like cardstock)
Water colours or watered down acrylic paint (you can try food colouring in water, too, but I find that takes longer to dry)
Bowls and spoons or squeeze bottles, droppers, straws...the options are limitless!

On your paper, draw whatever image you're wanting to colour in your glue. We made an Easter egg and a bunny. Make sure that the lines of glue are fairly thick.


Then, have your child(ren) sprinkle the salt onto the paper. Make sure you cover all the glue! If you do this on a flexible placemat you can dump the salt back into a bowl to use for another picture (or it just makes for easier cleanup). You can gently shake off some excess salt.

Then, have your child(ren) add their colours! A drop or two goes a long way with this craft. Toddler Bee really liked watching the colours spread through the sand and it's a fun way to learn about mixing colours.


Then, leave it to dry. It is normal for extra salt to fall off once it has dried, so be prepared for a little mess.

And there you have some easy and pretty Easter artwork!


We also made these today:


They're super simple and only require some white paper, glue, and crayons. The bunny ears are The Toddler Bees' handprints. The eyes and noses were drawn on by Toddler Bee himself! We did this craft last year, too. It's one of those crafts that is fun to do each year because you can visibly see your child's growth year to year (well, in their hands, anyway).

Stay turned for more Easter crafts in the coming days!


Sunday, March 17, 2013

A Shamrockin' St. Patrick's Day


Happy St. Patrick's Day! 

This is a holiday that, I think, is less frequently celebrated when you are a parent to young children. St. Patrick's Day pre-kids consisted of lots and lots of drinking. Now, the only green beverage we've been gulping in this house is milk! (And it was dyed that way, not rotten or anything). But, I love any excuse to celebrate and do fun things with my kids; and when our van started to make some worrying noises I knew I was going to be spending the day inside with the kids while Mr. Bee took it to his cousin's.

Our St. Patrick's festivities started last night after the kids went to sleep. After the kids were soundly asleep I made a leprechaun made and delivered mini green cupcakes! That same leprechaun also hid some St. Patrick's Day gold around our house with a special pot of gold to be found at the very end. Imagine The Toddler Bees' surprise when they woke up this morning!


After the excitement of a treasure hunt we were able to sit down to a delicious pancake breakfast. But not just any pancakes! We had shamrock shaped pancakes! I attempted a leprechaun hat, too, but it didn't quite turn out. And the batter was dyed green but it was hard to tell when they are cooked. But, hey, a pancake is a pancake and I'm not one to turn down buttery-syrupy-cakey goodness.


Once breakfast was over I pulled out a game of St. Patrick's Lucky Bingo. Bingo is very popular with Toddler Bee and he managed to beat me 5 times (I only won twice!). We used the Leprechaun gold from our hunt as markers for our game so we could play multiple times.

Green coins were found at our dollar store. 


Next came snack time:


Carrot stick beard, raisin eyes, cucumber and celery hat, and an apple slice smile


Shamrocks out of cucumber and a leprechaun man! So my leprechaun is a little beady-eyed and broad-mouthed...we can't all be super models.

We even made some special green dessert for after dinner! It's Oreo cookie crumbs on the bottom, vanilla pudding dyed green, topped with whipped cream, and a mini-cupcake. (Mr. Bee is not a fan of whipped cream, the crazy man.)


Even our lunch today was green! I added green food colouring to a pot of water and made pasta. At first I tried using my neon green dye but that didn't seem to be making any colour changes. So, I went with a darker green (about three/four drops) and it turned out perfectly! We had skewers of pickles and cucumbers, too, and a cold glass of green milk.


We played a few more rounds of Lucky Bingo before Mr. Bee was able to make it home (with a repaired vehicle, I might add). I was even a nice wife and made our roast dinner since I knew Mr. Bee wouldn't be home in time to do it.


It was a great St. Patrick's Day and even though The Toddler Bees didn't really know what was going on it was a fun way to break up the monotony of winter and a great excuse to have fun with the kids!

Monday, March 4, 2013

A DIY Cars Party


 I've been meaning to post about Toddler Bee's Cars themed birthday party for a few months now and now is finally the time when I've remembered.

Toddler Bee was volleying birthday ideas around for weeks prior to his party date. He couldn't seem to decide between Cars, Toy Story, or a million other random themes he would pull out of the air on any given day.

The theme was sealed one day when we were shopping in the Dollarstore and came across a section of Disney Cars themed decorations. There are few things I like more than a bargain so I took this as a sign that my boy was meant to have a Cars party.

Most of the party was DIY, like the majority of parities I plan. I usually bemoan the amount of work I have to put into making decorations but I really do enjoy creating fun parties for my families and creating my own decorations is the best way to make a party just how I want it.

So, allow me to take you on a tour of our Cars themed party...

The Welcome sign I drew and painted for our front door.

We'll start with Luigi's Casa Della Tires - Home of the Leaning Tower of Tires! Toddler Bee owns nearly every car from the movies, so they  made the perfect props for the party. Here we have Luigi balancing on the Leaning Tower of Tires; which are just chocolate mini doughnuts on a skewer. Meanwhile, Guido is moving around our white wall tires.


For refreshment, our guest were able to stop in a Fillmore's for some delicious organic fuel.


 Don't forget to post signs so your guests don't get lost on their travels!

Painted carboard adhered to a tension rod with duct tape.

And, for the birthday boy, a delicious cake! This was so simple to make. The sign is cardboard with blue paper glued on and markers for the lettering. I made a chocolate cake and then green frosting and covered the cake. Then, I sketched a number "3" with a toothpick and used that as a mold for the chocolate cookie crumbs. The lines on the road are yellow Mike 'n Ikes.


We were also able to find Cars themed plates, noise makers, cups, and a tablecloth for $8. The other red and blue plates and napkins were from last years party (same with plastic cutlery).


This beauty was one of our Dollarstore finds. It was only $3! 


This was the second part of the wall mural, which we had to put on a separate wall because we were out of room. The balloons have Cars characters on them and were $2 at the Dollarstore.


The red streamers were leftover from last years party and the yellow were $1 at the Dollarstore. The Cars themed streamers were $2 and so were the foil cutouts.


I am so proud of these tractor tipping cupcakes! The liners (which you can't see) are Cars themed and were $2 at the Dollarstore. I cutout the tractors from white cardstock and then hand painted each and every one. I wish I had gotten a closer picture so you could see all the little details. I used a fine-tipped Sharpie for the writing and small details. Then, I hot glued them onto toothpicks and stuck them in the cakes at various stages of tipping. These were a bit of a pain to make but I love them!


And, of course, a Cars party is not complete without some traffic signs:


For the traffic lights, I took a piece of cardboard and painted it black. Then, I cut circles out of thinner cardboard and painted them red, yellow, and green. Then, using cardboard from an old cereal box, I cutout the covers for above the lights.


Our basement took on the role of Sarge's Surplus Hut (because that's where we store all our extra junk!)


And the door to the bathroom boasted a sign for Tow Mater's Towing and Salvaging.


And at the base of our stairs we see a sign for the Cozy Cone Motel. Unfortunately, there was no vacancy so our guests couldn't stay the night.


For the kids, Ramone set up his House of Body Art. I was able to find temporary Cars tattoos at the Dollarstore for $1!


In the last half hour before the party I decided to draw some Piston Cups on drink glasses. You can't see all the details, and they were rather hastily drawn but still fun!


 Somehow I managed to miss photos of our Flo's V8 Cafe sign, which was above the table of food. I also missed a picture of the foil banner we found at the Dollarstore ($2).

In total, the party supplies (including food) cost around $100, which I don't think is that bad. Especially if you could see how much food there was! All of the signs were made from recycled cardboard. I hoard old cardboard boxes in the weeks before a party so I can make my signs. The paints I already had, too, so it was just a matter of going online and looking at stills from the movies so I could make the signs as close as possible to the "real" thing.

Planning a party for a child is so much fun and party planning is one of my favourite things to do. All the hardwork is worth it when you see how excited and happy you child is on the day of their party. Of course, it's more about the friends and family who gather to celebrate with you (and we had plenty of that, too!) but the window of time you have available for the true magic of childhood is so small that I like to make every opportunity I have amazing.

And, like most other crafts I do, these things can be planned on a budget. You never know what you will be able to find at your Dollarstores and you'd be surprised at how easy it can be to make your own decorations!