Tuesday, January 31, 2012

Kale and Bean Burgers

I've been trying to use less meat in my weekly cooking because lately eating it has made me sick. These burgers we an alternative to the veggie patties in the grocery store, which my husband says look like carpet underlay. They were on the soft side, which we didn't mind. These were really flavourful and incredibly filling! My steak-loving-veggie-shunning husband liked these and so did my (suddenly) picky toddler, so they must be a keeper!

This recipe made 6 patties.

What You Need:

1/2 a bunch of kale (leaves only)
1 large clove garlic
1tbsp chilli powder
1/2 cup breadcrumbs
1 can red kidney beans, cleaned
salt and pepper to taste

Heat a skillet to medium heat on stove top.

Finely chop your kale leaves and place in a bowl. In a separate bowl, mash your cleaned beans into a paste. Add this to the bowl with the kale. Chop or grate  your garlic and add in (I grate my garlic). Add in the chilli powder and then salt and pepper. Add the breadcrumbs - I added 1/2 the amount, mixed and then added the second half. You can add as much or as little as you would like.

Add oil to your pan then shape your mix into patties and place in pan. Fry for a few minutes on each side. They will brown and crisp up a bit. You can fry for as long or as little as you like. I popped mine in the oven for a bit, too, to keep the warm while the rest of the meal was cooking.

We ate ours on buns with our normal burger toppings. Fast, easy and delicious!

Iphone photo...not the best, but you get the idea!

Friday, January 27, 2012

Cloth Cupcakes

I made this to put in my daughter's stocking for Christmas this year. They're easy, cute and would be fun for a baby shower.

What You Need:

2 wash cloths in different colours
2 small elastic bands (I use the small, colourful hair ones)
1 cupcake wrapper

How to Make Them:

Take one wash cloth and fold the sides into the middle so you have one narrow cloth.


Do the same with the second cloth.

I made my first one too wide, I ended up making it narrow like the second one.


Choose which one you want to be your "frosting" and roll it on a slight angle. You can secure this with an elastic if you want at this point.


Wrap your other cloth around this one and then secure with an elastic.


Sit the cupcake into the liner and secure with an elastic. Adjust your cloths to look the way you like them. I pushed my "icing" down a bit so it wasn't so pointed.


Ta-da! Cute and only takes 5 minutes!

Thursday, January 26, 2012

Crispy Chicken Wraps

I saw this recipe on Pinterest and decided to try it for dinner tonight. I switched it up to tailor it more to our tastes and think it turned out great!

*This recipe is to make 4 wraps, I had ingredients left over.*

What You Need:

4 large tortillas (we used sundried tomato)
cheddar cheese
1 avocado (used for two wraps)
1/2 red pepper, roasted
cooked rice (we used jasmin and it was 2 cups water to 1 cup rice)
1 portobello mushroom (used for only two wraps)
1 tomato (used for two wraps)
1 chicken breast, shredded
1 onion chopped
1tbsp chilli powder
1/2tbsp garlic salt
Vegetable oil

How to Make:

Cook your rice according to package directions. I let mine cool to room temperature until I was ready to use it, but you can use it warm (just not too hot or the wrap will become soggy while you're filling it).

In a 350F oven cook your pepper (half or a whole one) until just soft. Let cool.

Sauté your onions until just soft. Set aside until rice is done.

Cut your vegetables into desired sizes. I discarded the seedy part of the tomato because I find that part makes things soggy. Also, shred some cheese (how much depends on how cheesy you want your wraps. We used just under two cups).

Combine your chicken and onions into the rice. Then, add your garlic salt and chilli powder. Mix well.


Put some oil in your pan, just enough to coat the bottom and heat on medium/medium high.

While your pan is heating, place your wrap on a flat surface. Sprinkle the cheese on the wrap, avoiding the outer edge. In the middle of the wrap make a long pile of your rice mixture. Then, top this with whatever veggies you want in your wrap.


My husband had mushrooms, tomatoes, and red peppers in his. I had avocado and red pepper in mine.

Roll your wraps in your preferred way and then place in the heated pan seam side down.

Watch them closely because they cook fast! My first side was a little too crisp but it still tasted wonderful. I turned mine and cooked them on each side so they were crisp all the way around.

Then, when ready to serve, cut in half. These would be really good with sour cream (I forgot to get some). We coupled ours with homemade fries.

This meal was incredibly filling. I made my two wraps on the smaller side and my husband's on the larger side. My husband could only eat one before he was full.


The only critique my husband had was that the rice needed more flavour and I should have cooked the mushrooms first instead of putting them in raw. I thought the rice was great the way it was, but Mr. Bee doesn't really like rice to begin with.


We'll for sure be doing these again!

Kale Chips

Last night was my first attempt at making kale chips. I've been using it in salads for a while now but had never thought to try baking them. It's super easy to make them and they taste delicious! My son ate an entire tray full of them today.

What You Need:

One bunch of kale
Oil (I used vegetable)
Salt

Instructions:

*I like to eat the kale stems, too. I use the thinner pieces and when they cook up they become soft and super yummy. You can cut or rip your kale off the stem if you want.*

Preheat oven to 350F.

Rip your kale into large-ish pieces and toss in some oil. Just enough to cover them. Sprinkle lightly with salt and then spread a layer onto a parchment lined cookie sheet. I used my silicone baking sheet.

Then, bake until the edges are crispy. Mine were in there for about 11 minutes. Ta-da!

I put mine into a bowl with a lid right away and left them on the counter overnight. That was a mistake! I woke this morning to a bowl of soggy chips. Oops. But, I just popped them back in a 350F oven for 10 minutes and they were good to go!

Valentine Window Hearts

I was going to make these yesterday, but we were out of wax paper. Today my two month old got her first round of vaccines, so we're having a day at home and this craft was perfect for that!

What You Need:

Wax paper
Crayon shavings in preferred colours
An iron
Scissors
Ribbon or string

How To Make It:

Using a knife, scissors, or pencil sharpener, shave some crayons until you have a decent little pile. This is how much I made. I know it doesn't look like a lot but a little goes a long way.


Then, place a towel down on a hard surface, plug in your iron (to medium-high or high heat) and then tear off a long strip of wax paper.

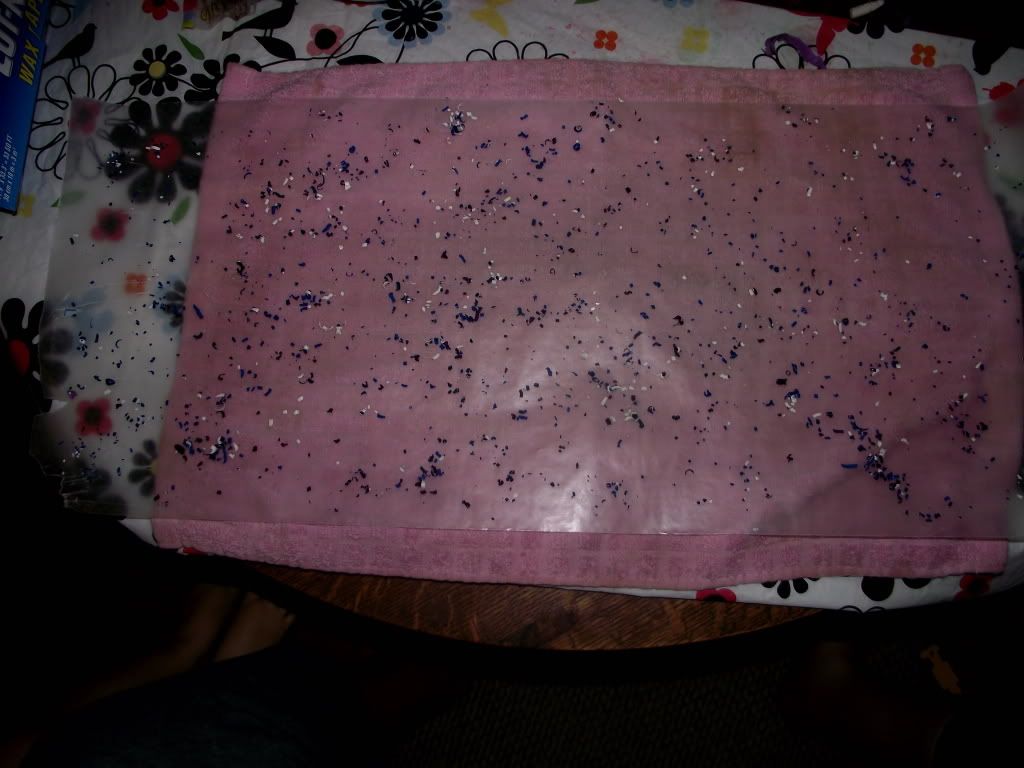
Sprinkle a thin layer of crayon shavings onto this sheet of paper. You really only need a thin layer because too many will run together into a brown-ish blob.


Cover with another towel and then go over this several times with your iron. Make sure you turn back the towel to check on the melting progress.


I usually remove the towel and go over this once or twice just on the paper. This can leave a colourful residue on the iron, so be careful. Definitely don't do this craft on your table without a towel underneath...I made that mistake once and it left a lovely red stain on my coffee table.


Then, use a pencil, pen, or (in my case) a crochet hook to draw some hearts onto your sheets. I use the crochet hook because it only leaves an imprint on the paper, not an actual ink mark.


Once you have all your hearts cut out punch a hole in the tops and bottoms of each one and then string onto your ribbon or string.


Then, simply hang them from your desired location!

Tuesday, January 24, 2012

Fun Cupcakes

Baking is one of my favourite things to do. And I like to find interesting cake and cupcake recipes. These are two of my favourites:

Hamburger Cupcakes


These cupcakes are cute and tasty and perfect for a summer BBQ!

They're easy to make, too! All you need are:
-yellow cupcakes (boxed or your own recipe)
-a chocolate sheet cake
- red icing, orange icing and green icing

1. Make your cupcakes (not in liners) and cut them in half. These will be your buns.
2. Use a small glass or cookie cutter to cut small circles out of your sheet cake. These are your beef patties!
3. Make or buy frosting and separate into three bowls. Dye one red, one yellow, and one orange. The red is ketchup, the orange is cheese, and the green is lettuce (keep a small bit of white icing, too)
4. Put a small dab of icing on the middle of the bottom bun and place the patty on top of that. Then, using piping bags (or ziploc bags with the tip snipped off) pipe on your icing into blobs of ketchups, melted cheese and strips of lettuce.
5. Top with another bun and there you have it! You can secure them with a toothpick for travelling.

Optional: Wet the top bun with a bit of water and then press on some sesame seeds.

Rainbow Cupcakes


You need:

White cupcakes
Vanilla frosting
Food colouring (as many colours as you want)

Instructions:

1. Make your cupcake batter and separate into as many bowls as you have colours.
2. Add 3-5 drops of food colouring to each of your bowls of batter. Mix well.
3. Line your cupcake tray and then, with a spoon, scoop in a bit of one colour of batter. Scoop a blob of the next colour on top; then the next colour and the next. You can do larger amounts and only have four layers of colours; or multiple smaller layers.
4. Bake accordingly and, when cooled, frost with your white icing!

These look very unassuming from the outside but when cut into they look awesome!

Lasagna Soup

We had this soup for dinner tonight. It is based off of this recipe. It looked delicious but I wanted to change it up a little.

What You Need 


2tbsp oil (I used vegetable)
2 medium onions, chopped
4 cloves garlic, minced
1.5tbsp oregano flakes
1 small can tomato paste
1 large can diced tomatoes with spices
2 bay leaves
6 cups chicken stock (I used homemade)
2 cups fusilli pasta (about 1/2 cup per bowl of soup)
2 portobello mushrooms
1/2 red pepper
ricotta cheese
sharp cheddar cheese (you can use mozarella)

Instructions:


Preheat oven to 350F. On medium heat, add your oil to your soup pot. Then, add in onions and cook until soft.


Add in garlic and oregano and cook for another minute. Add in tomato paste and cook for about 5 minutes, or until the paste loses a bit of its redness.


Add in tomatoes with juices and your chicken stock. Stir to combine everything. Lower heat and leave to simmer for 30-40 minutes.


Cut a red pepper in half, take out seeds and place, cut-side down, in the oven. Cook until soft. Cut your pepper into small chunks and add to soup. Cut mushrooms into larger chunks and add to soup (I made them large so they wouldn't cook down to nothing).


While your soup is simmering cook your pasta in a separate pot. You can cook this in the soup but I didn't want it to sap the flavour.

Add desired amount of pasta to bowl and pour soup over. Scoop a spoonful of ricotta cheese on top of soup, grate some cheese onto that and top with a small bit of hot soup to make everything melty and delicious.

This picture really doesn't do it justice!!

 This soup was delicious and hearty and definitely one of my favourites!

Jello Poke Cake

I had never heard of this until Pinterest (that site has done so much for my life!) and as soon as I saw it I knew I had to make it. I'm not the world's biggest Jello fan, but I'm a huge fan of cake. It's pretty much my best friend.

This cake is simple, especially if you want to be lazy, like me, and use a boxed cake mix.

All you do:

Make your cake according to the box directions (I made a confetti cake).
Make your Jello according to the box (I used strawberry.) Don't let it set!
Once your cake is out of the oven and partially cooled poke the entire top with a fork. Then, pour your liquid Jello mix over the cake.

Keep this in the fridge until you're ready to serve (at least 2 hours). Top with whipped cream and then try not to eat the entire cake in one evening (this was hard for me!)

Painting!


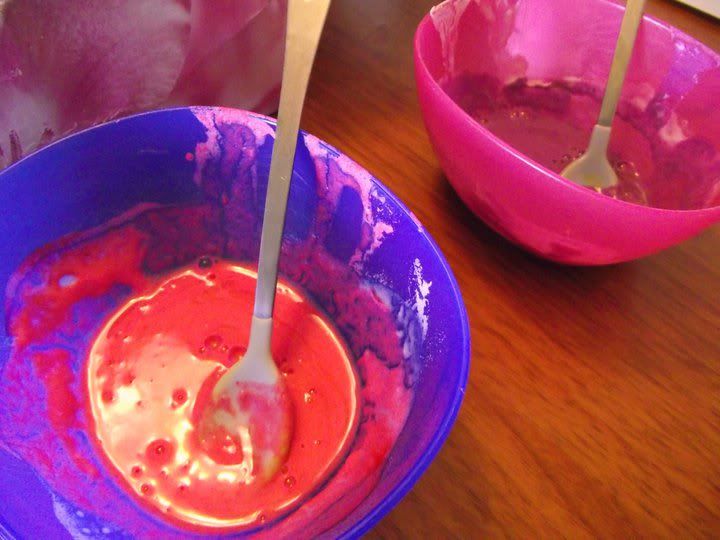
When my son was younger I made my own paints. It's easy and totally edible, which was important when he was in his "everything must go into my mouth" phase.


To make these paints all you need is flour, food colouring, water, and salt (or sugar).

Simply mix flour and water together until you have your desired consistency. I tended to make this paint a bit thicker. Then, add in a small bit of salt or flour (just for texture) and enough food colouring to get your desired colour. These paints dry a bit thick and crumbly but stick to the paper. And, it's really easy to clean!


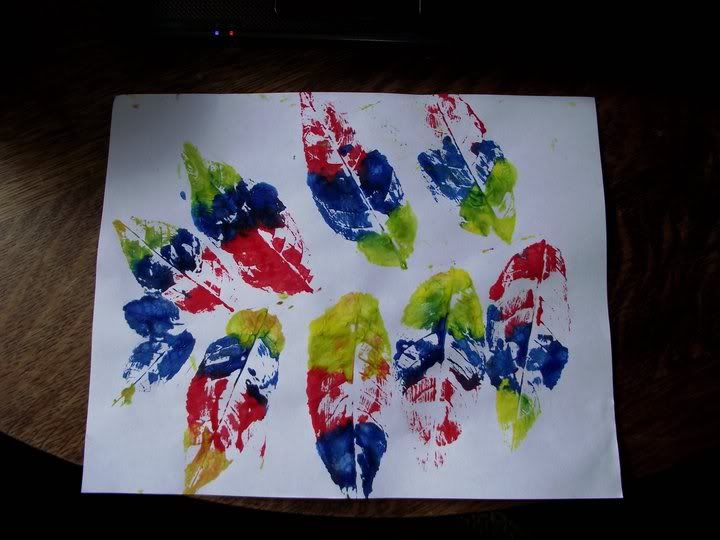
Painted Leaves


I like crafts that involve both art and getting outside. This is one of those crafts.


To make this you simply go out and pick a bunch of leaves in various sizes and shapes. Then, paint them very lightly and press onto paper. Our first attempt had too much paint and you didn't get enough detail but it's all trial and error with crafts!


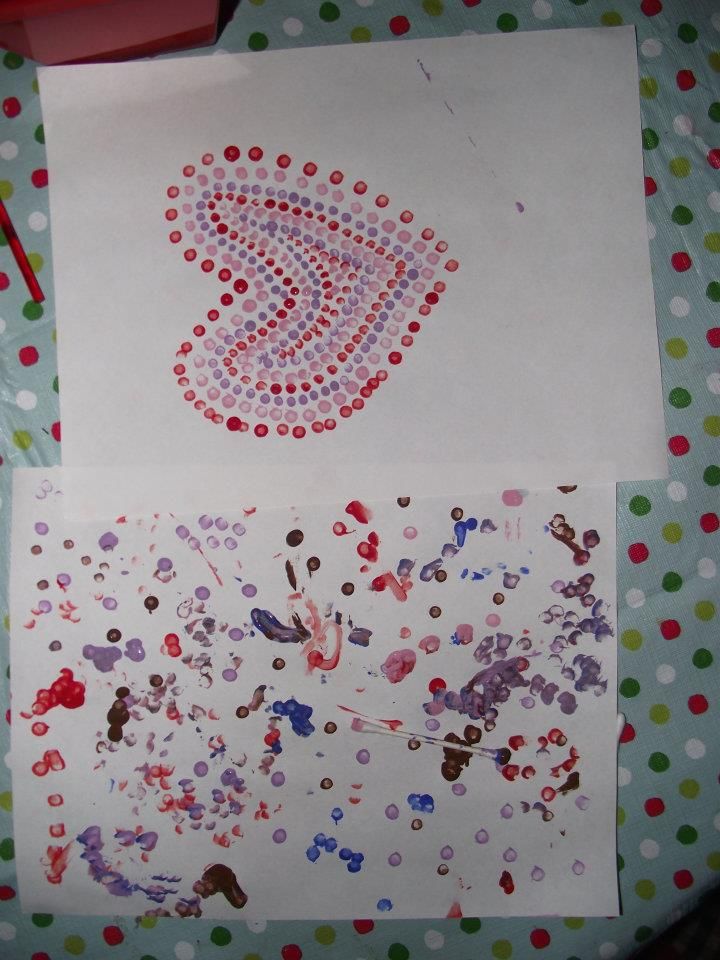
Q-Tip Painting


This was fun to do and is different than the usual finger paintings or brush paintings we do. Plus, it helps kids with those fine motor skills!

I just put some blobs of paint onto a paper plate, gave my son some q-tips and let him go to town!

A Craft for Mom

I saw this idea on Pinterest and thought it would a fun and simple way to keep track of things I need to buy or meals for the week. It really is simple; all you need is a frame and a sheet of scrapbook paper.

My dollar store had a 12x12 frame for $2, so I didn't even need to trim my sheet of scrapbook paper!

This frame didn't have glass, it's actually a layer of plastic, but it works really well!

Thanksgiving and Halloween!

We live in Canada, so our Thanksgiving is in October. This means I tend to do Thanksgiving and Halloween crafts around the same time. This year we made:


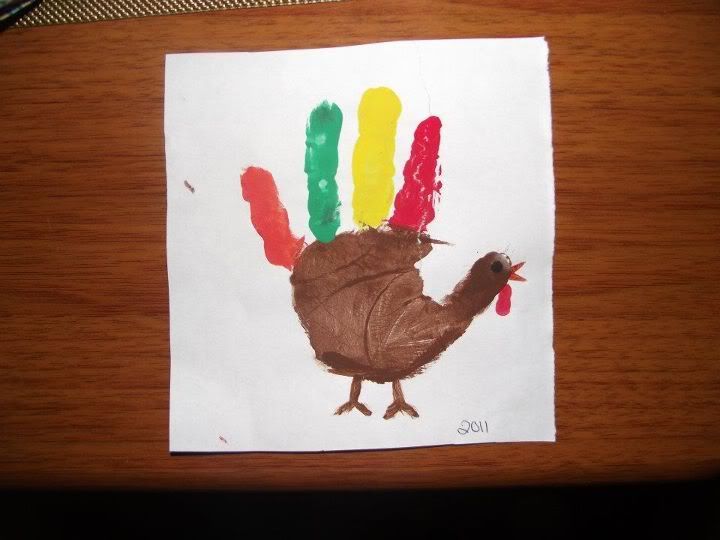
Handprint Turkey:
To make this you just paint the palm of your child's hand and the thumb brown and each finger a different colour. Then, once the paint has dried, you paint on legs, an eye, beak and the dangly red thing!

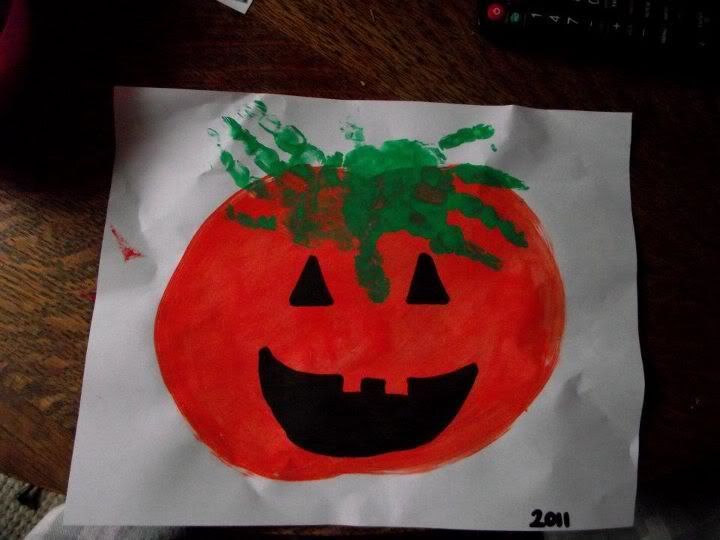
Handprint Pumpkin
To make this one you simply paint an orange pumpkin and face and then use your child's hand (painted green) to stamp on the leaves at the top!

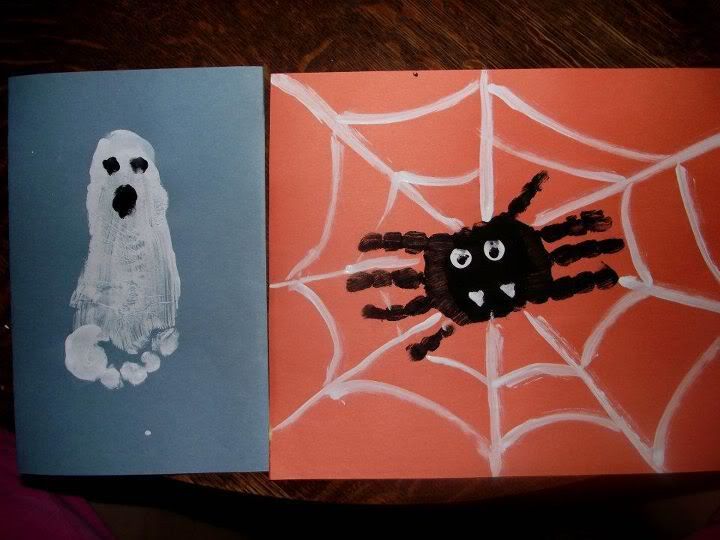
Hand Spider and Foot Ghost
To make this one you paint your child's foot white and press it onto a piece of paper. Then, let them dip their finger in black paint and dap on the eyes and mouth.

To make the spider, you paint the hand minus the thumb black. Then, press it onto the paper. Repeat again, making sure the palm overlap.

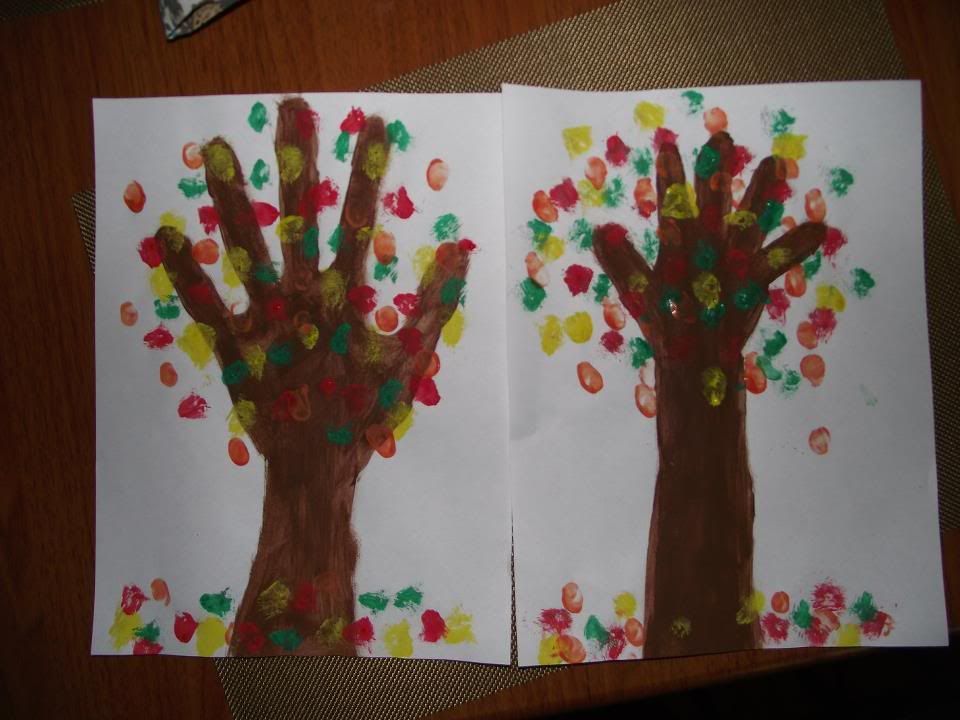
Hand Trees


To make these you either trace around your child's hand or paint their hand and have them press it on the paper. Then, draw a tree trunk. Place some blobs of paint on a paper plate and let your child finger paint on some leaves!

Easter Crafts

I made these last year when my little boy was my one and only baby. I have plenty of ideas for Easter crafts this year and can't wait to try them out with both kids!

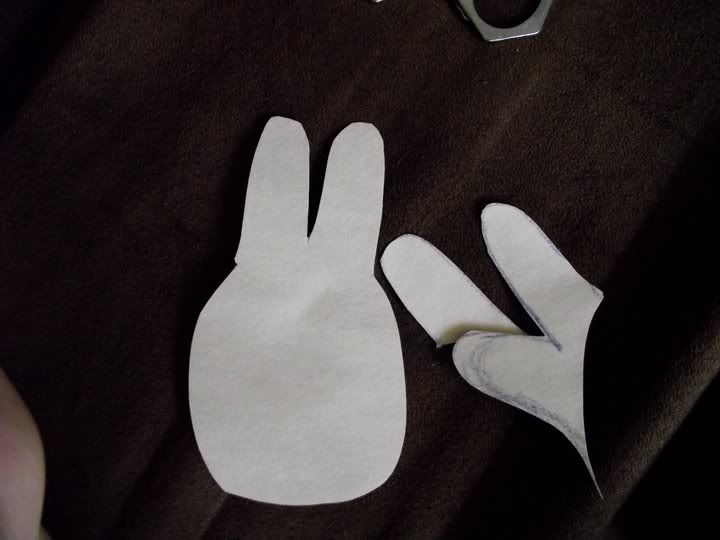
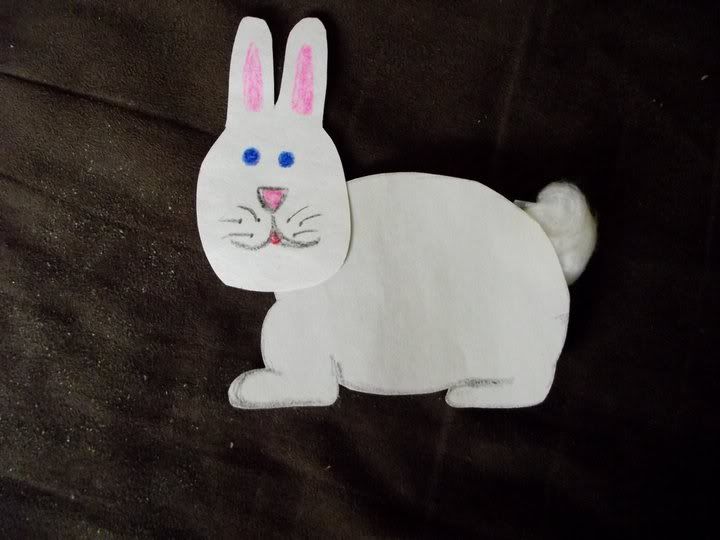
Handprint Bunny:


For this craft, you want to trace your child's hand onto a sheet of white paper. Then, cut off all but the middle and pointer finger (from the traced hand...not your child's). You will want to round out the palm, too. This is your bunny's face!


Then, all you do is draw on a bunny face, cut out a body and add a cotton ball tail!
And there you have a little Easter bunny!

Easter Lily


You can make several of these to have a bouquet of fake Easter lilies.

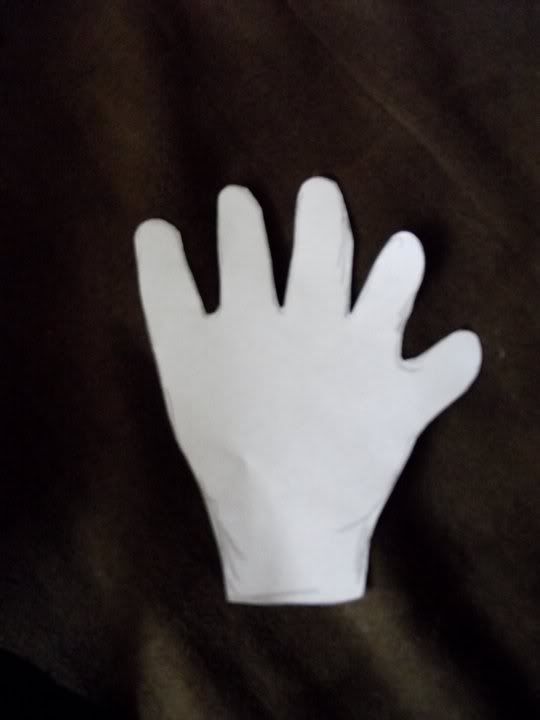
For this one, you trace around your child's hand on white paper. You'll want to extend it down a bit, as if you were drawing the wrist.


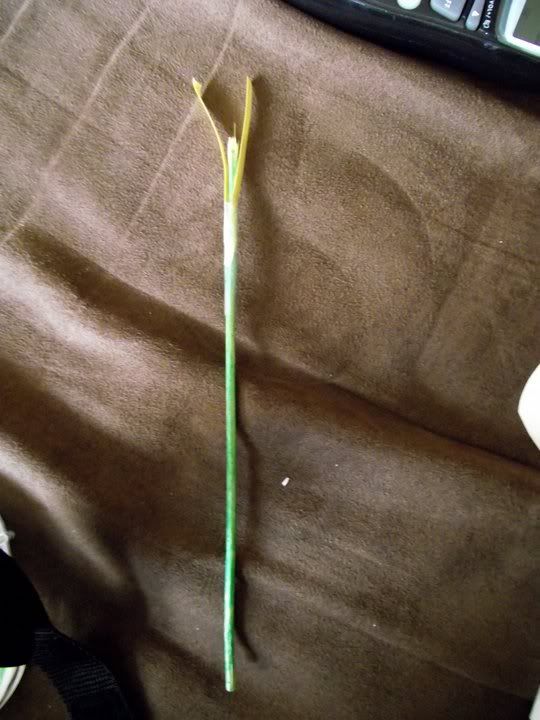
Then, take a green pipe cleaner or a kabob skewer that has been coloured green (like I had to use). You can then either wrap two short yellow pipe cleaners around the end of the green one, or tape on two pieces of yellow paper.


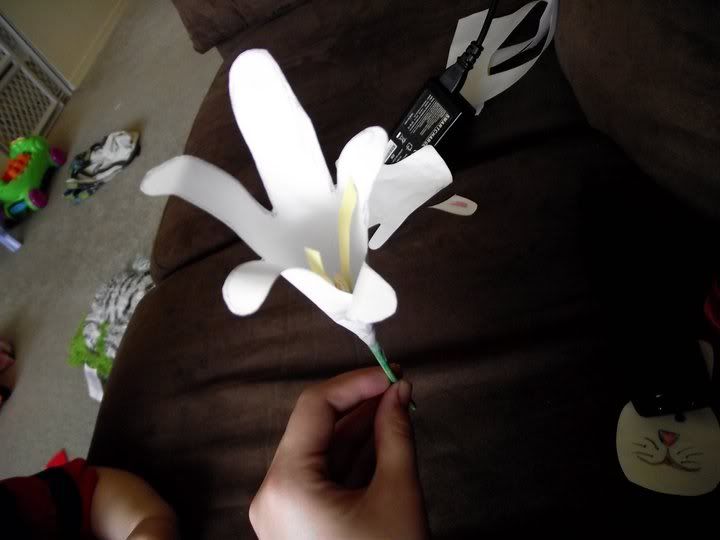
Then, you wrap your child's handprint around the "stem" and secure it with tape.

Curl the ends of the fingers around a pen and ta-da! Easter lily.

Crayon Crafts

When I was a child I used to love to make melted crayon pictures. I forgot all about that until I saw an idea on the Martha Stewart website that reminded me. So, for each season, I now make melted crayon crafts to hang in my living room window. The method is easy but it`s more of an adult craft (if you have little kids like me). My toddler usually helps me pick the crayon colours but I do the rest.

The method is the same any time you make this; the only things you change are the colours you use and the shapes you cut.

Step 1: Using a pencil sharpener or knife shave some crayons until you have a decent pile of colourful shavings (this is great for those bits of broken crayon you may have).

Step 2: Take a long sheet of wax paper and lay it on a towel on a table. Sprinkle a thin layer of shavings on this. You don't want too thick of a layer because then it will all blend into brown.

Step 3: Place another sheet of wax paper on top and cover with another towel. Then, use your iron on medium heat to go over the towel. You'll want to lift the towel every so often to see where you need to melt spots and how it's blending together. Don't go over it too many times of it will blend too much.

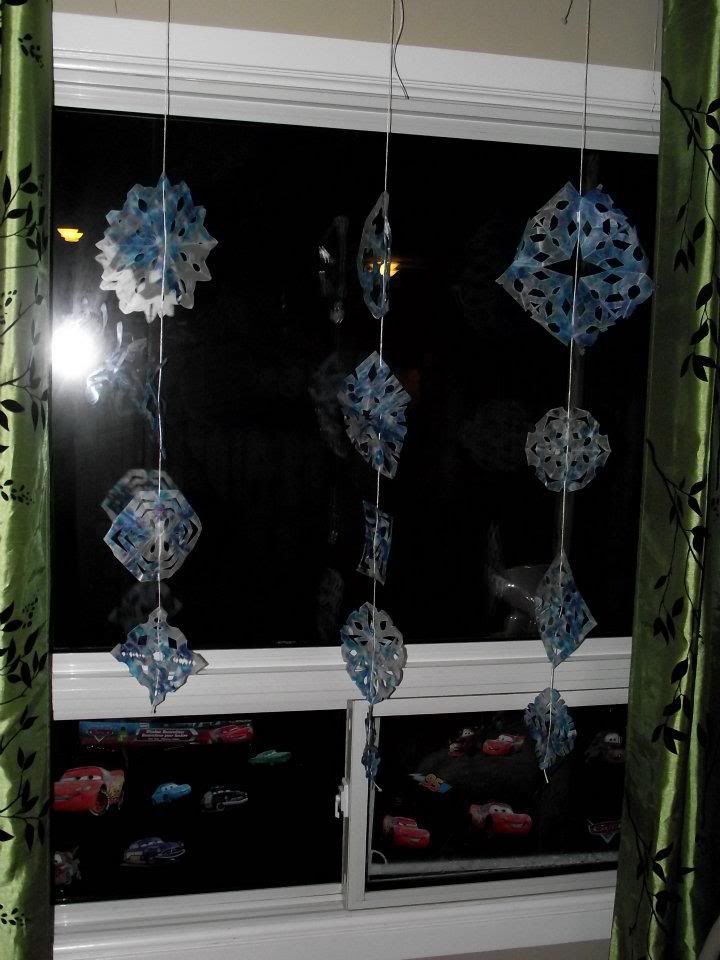
Step 4: Once it has cooled cut it into smaller strips and then cut these strips into whatever shape you are wanting. I like leaves for fall, snowflakes for winter, hearts for Valentine's Day, flowers for spring and shells for summer. Then I just poke holes in them, add string and hang them up!

They look lovely when the sun streams through the window.