Cooked Play Dough
What You Need:
2 cups of flour
2 cups of warm water
1 cup or salt or sugar (I did 1/2 salt and 1/2 sugar)
Food colouring
Step 1:
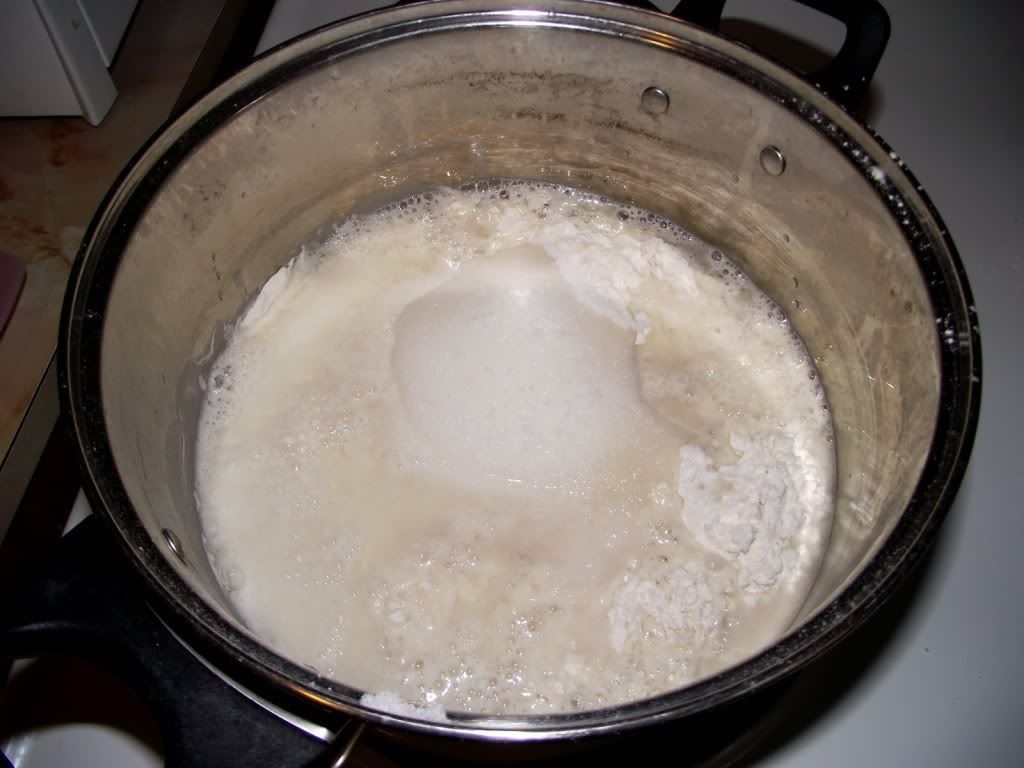
Add all of your ingredients, minus the food colouring, to a pot on your stove. Cook on medium heat. You will need to continually stir it, which gets a bit difficult as it thickens.
Step 2:
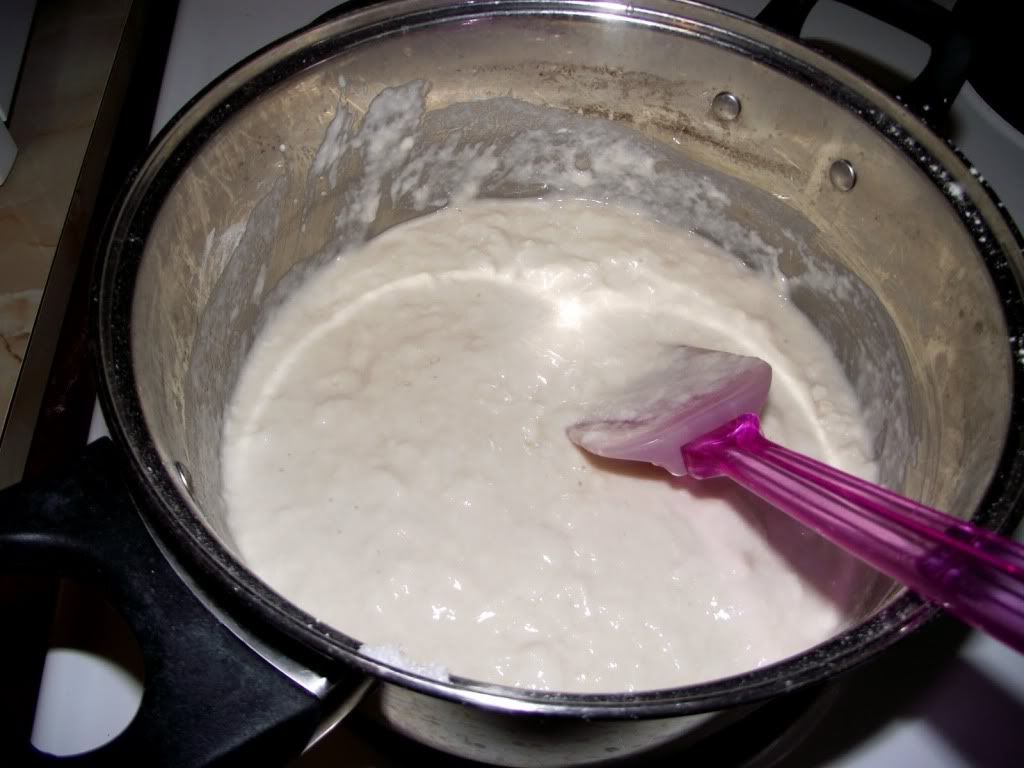
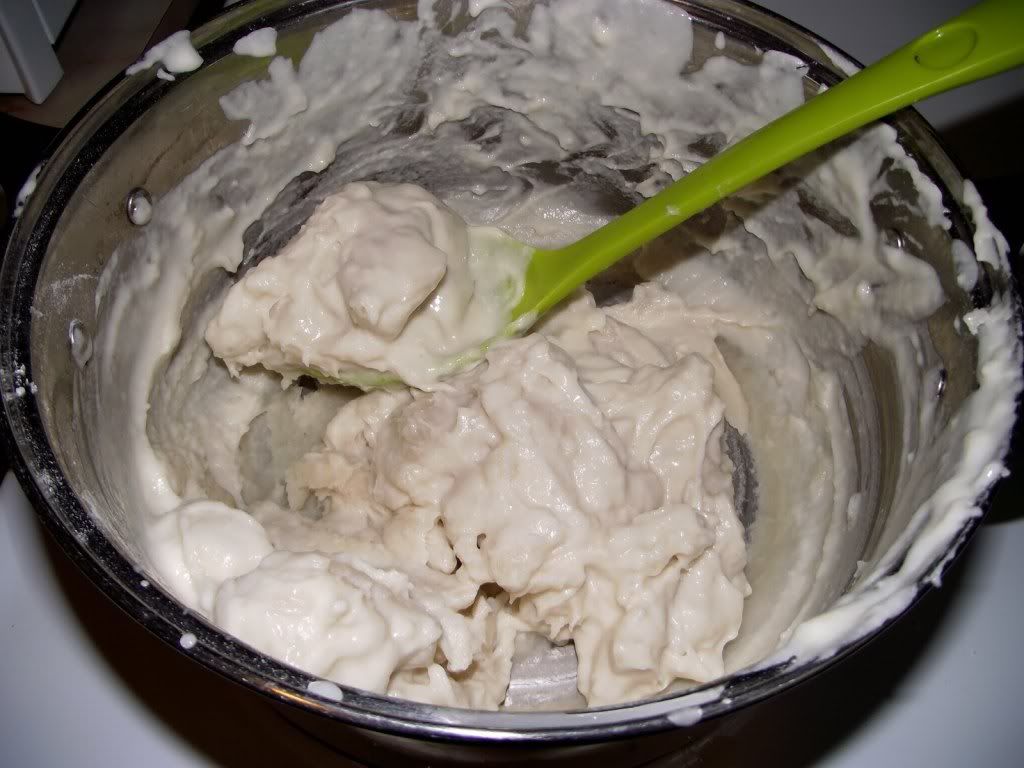
Your dough will be done when it pulls away from the sides of the pot and is no longer sticky. You want it to look like, well, a big ball of tough dough! If it is still sticky then cook it a bit longer.
Step 4:
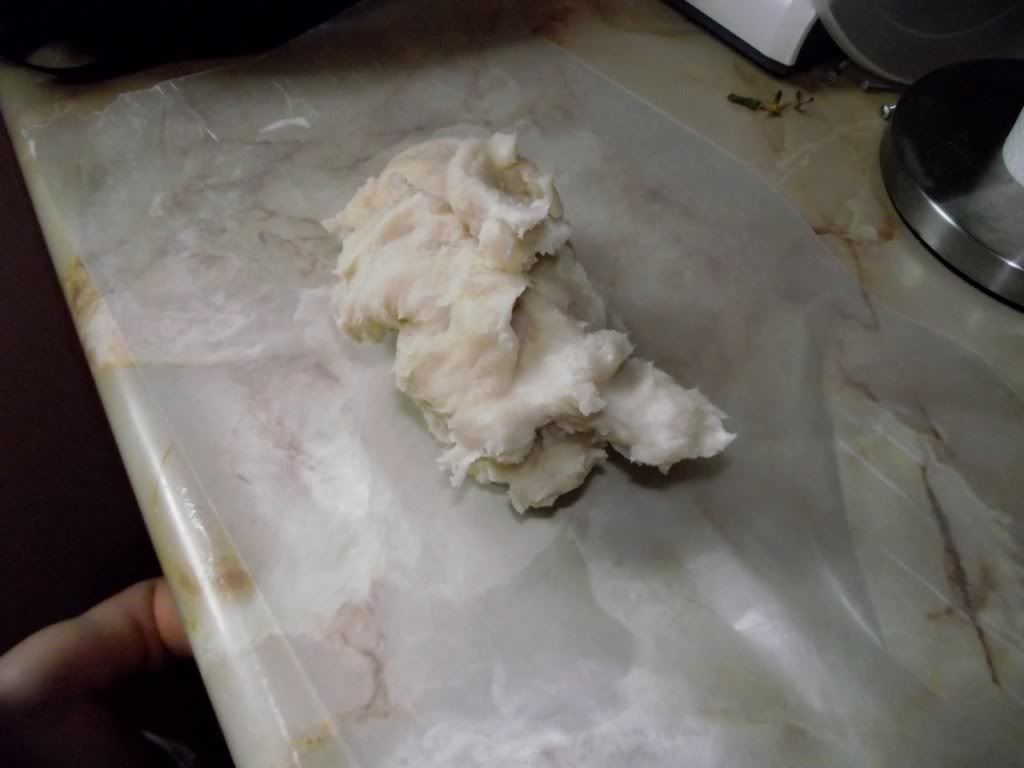
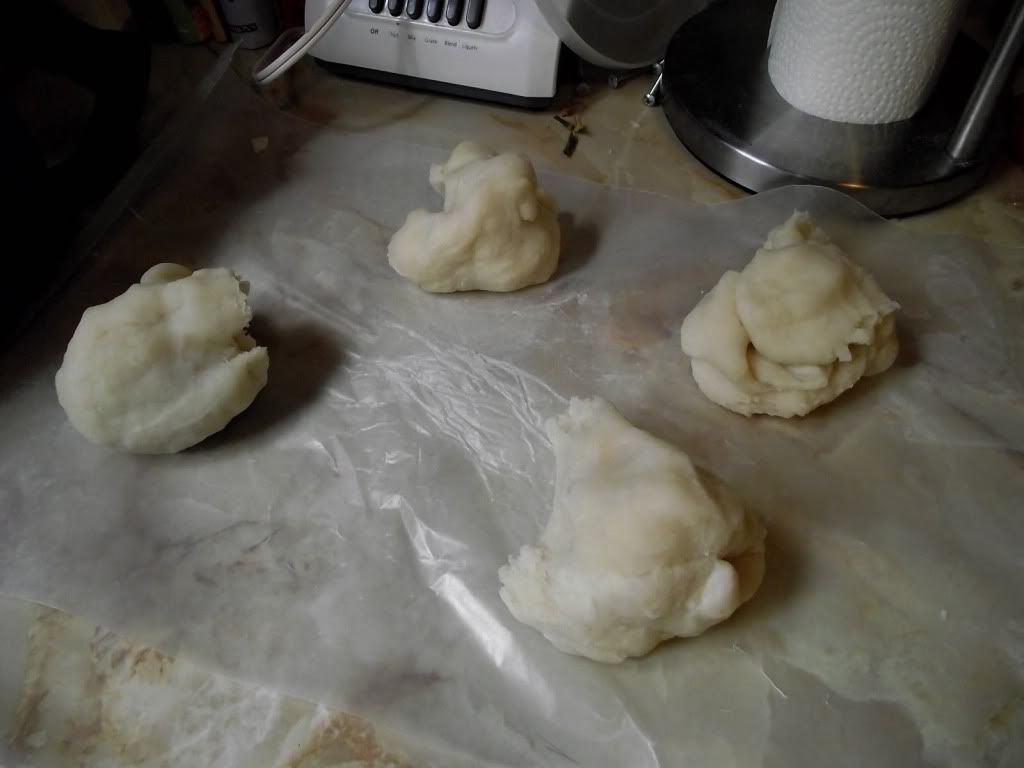
On a clean surface (I used a sheet of parchment paper on my counter), kneed the dough for a minute and then separate it into four balls (or how ever many colours you want to make).
Step 5:
In the centre of each ball make a hole. This is where you will drop in your food colouring. I used about 10 drops for each colour and the food colouring I used was neon.

For this part, I suggest you wear rubber gloves if this is your first time making the dough. After I made it once I figured out an easy way to knead it so that the colour didn't get on my hands. What you will then do is fold the dough so that you are covering the hole you just made and then continue to fold it in half, over and over. This is the fastest way I found to get the colour to evenly distribute. It may take some time, but as long as you keep folding it in on itself it should work. Don't be afraid to add more food colouring if you need to.
Eventually, it will look like this!

To store your new playdough you keep it in an airtight container of some sort. I wrapped mine in clingfilm before I put them in a Glad container so that they wouldn't get smooshed together. You don't need to store these in the fridge, they can be kept on your counter. If they start to dry out you can kneed them with a bit of water. It should last for a few weeks before becoming too dried out.

You can also cook this in the oven to create permanent shapes and figures, which is fun to do for Christmas ornaments or baby handprints!
No-Cook Dough
What You Need:
1 cup flour
1/2 cup salt or sugar
1TBSP cooking oil
1 cup boiling water
Food Colouring
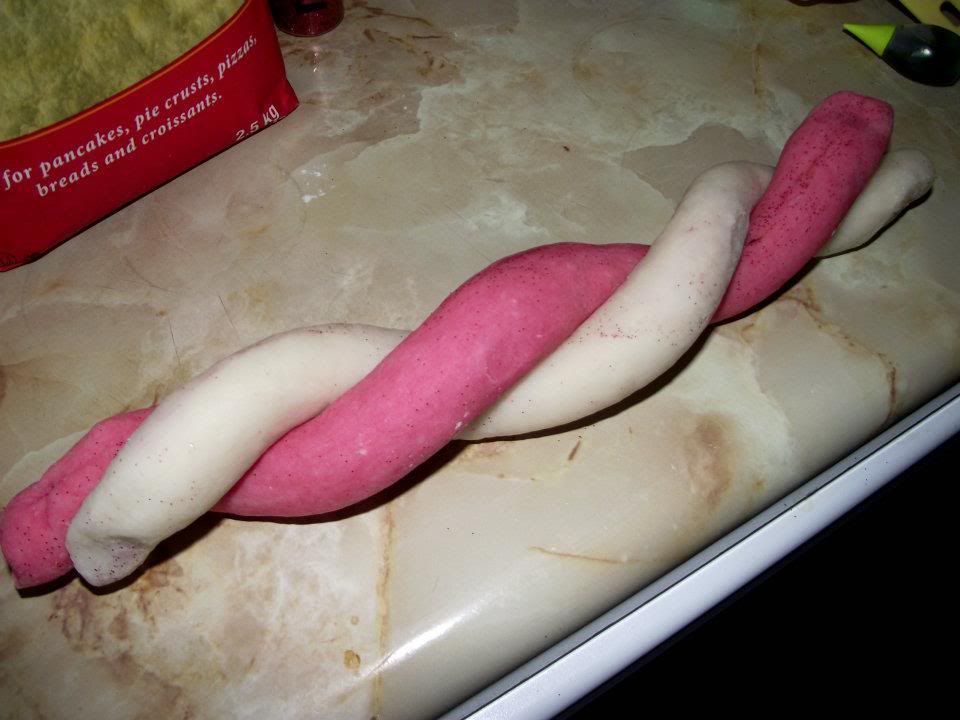
Over Christmas we used our cooked playdough recipe to make candy cane playdough. But, for this one, instead of having four colours we divided the dough in half and left one white and dyed the other red. Then, we added peppermint extract and glitter!
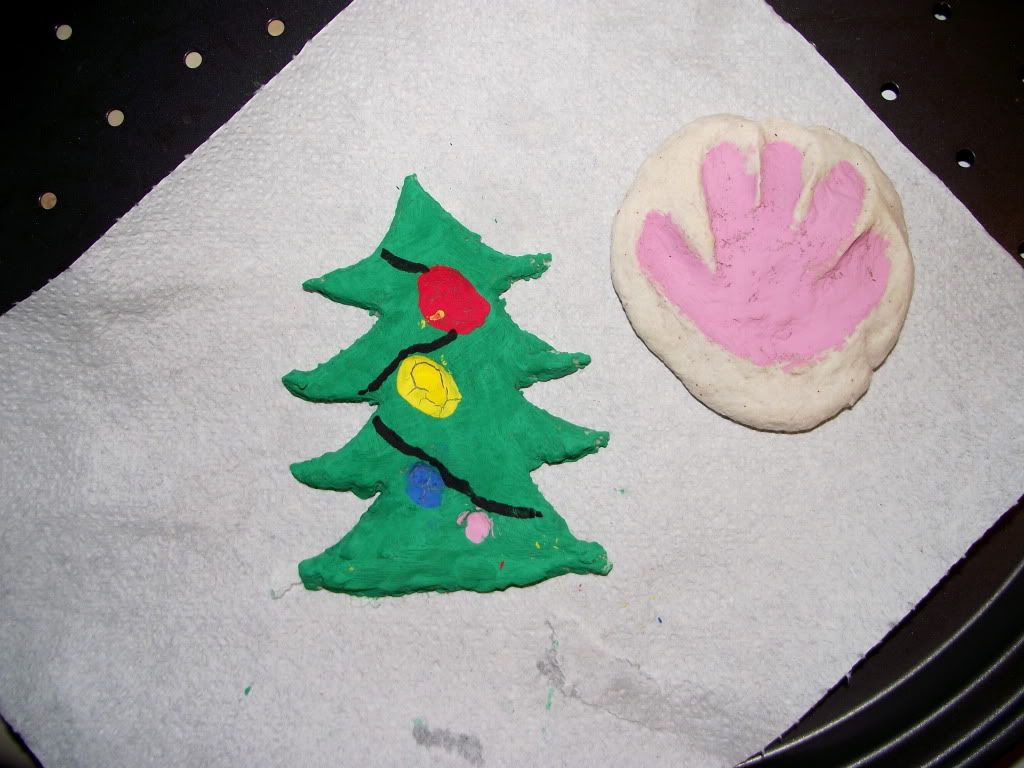
A Christmas tree with Daddy Bee, Mama Bee and the two Baby Bees fingerprints! And the newest Bee's handprint.
These were baked in the oven at about 300F for four hours.
Playdough is always fun to play with and these recipes are nice because they are totally edible!
No comments:
Post a Comment